There is nothing worse than coming down in the morning to finding your favorite fish lying dead and crispy on the carpet.
Many fish, especially wrasse, have a tendency to jump from the tank when frightened or chased by another fish and so a solution to preventing the loss of such fish should be high on every fish keepers priority list.
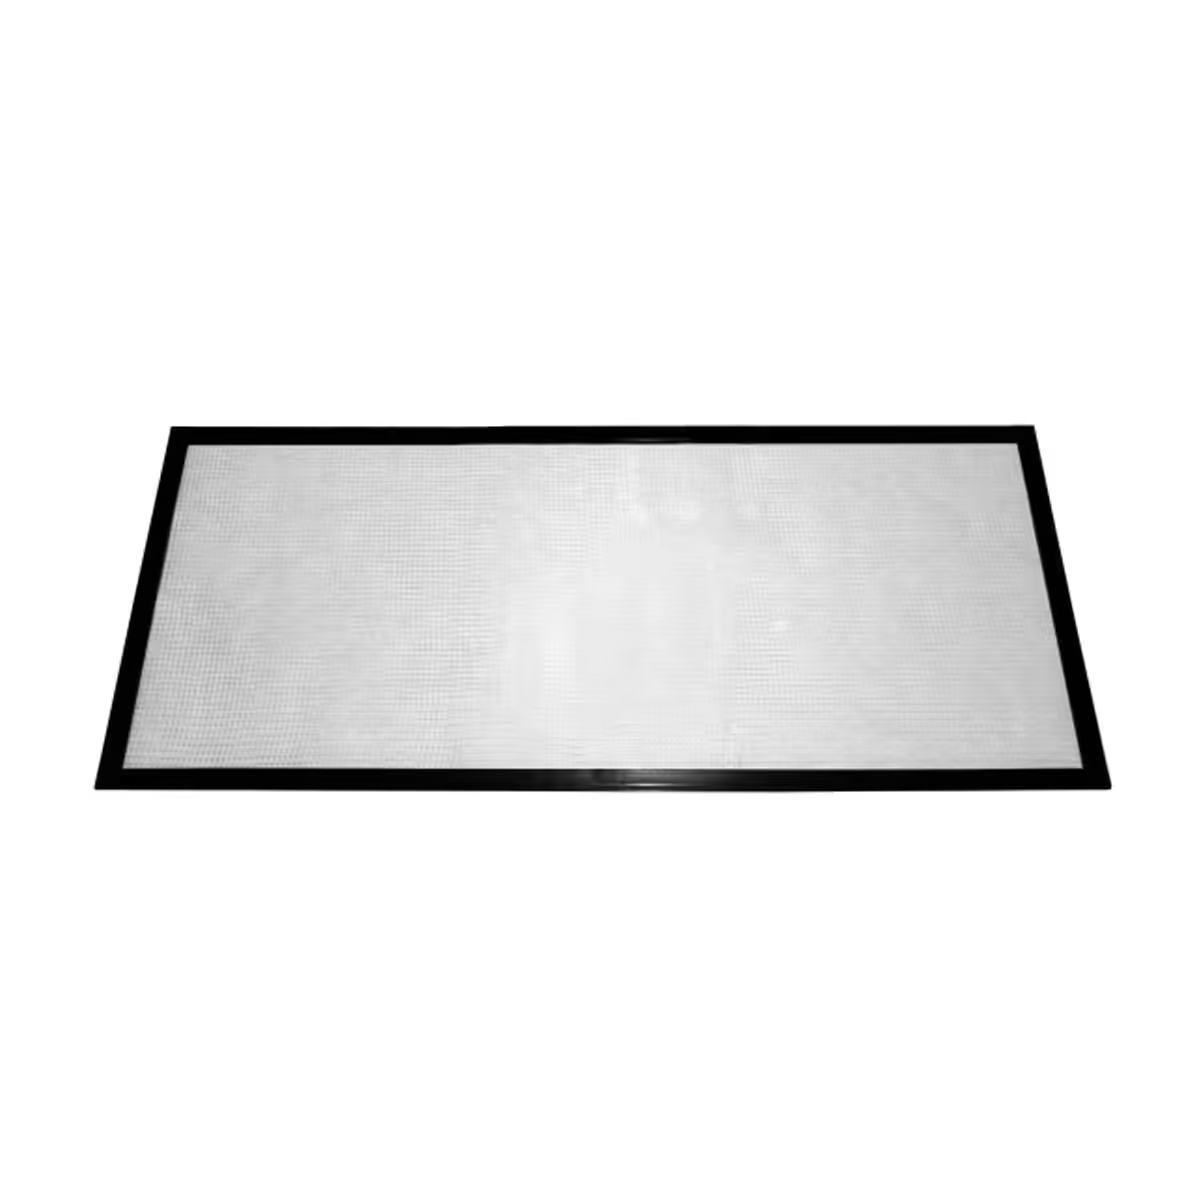
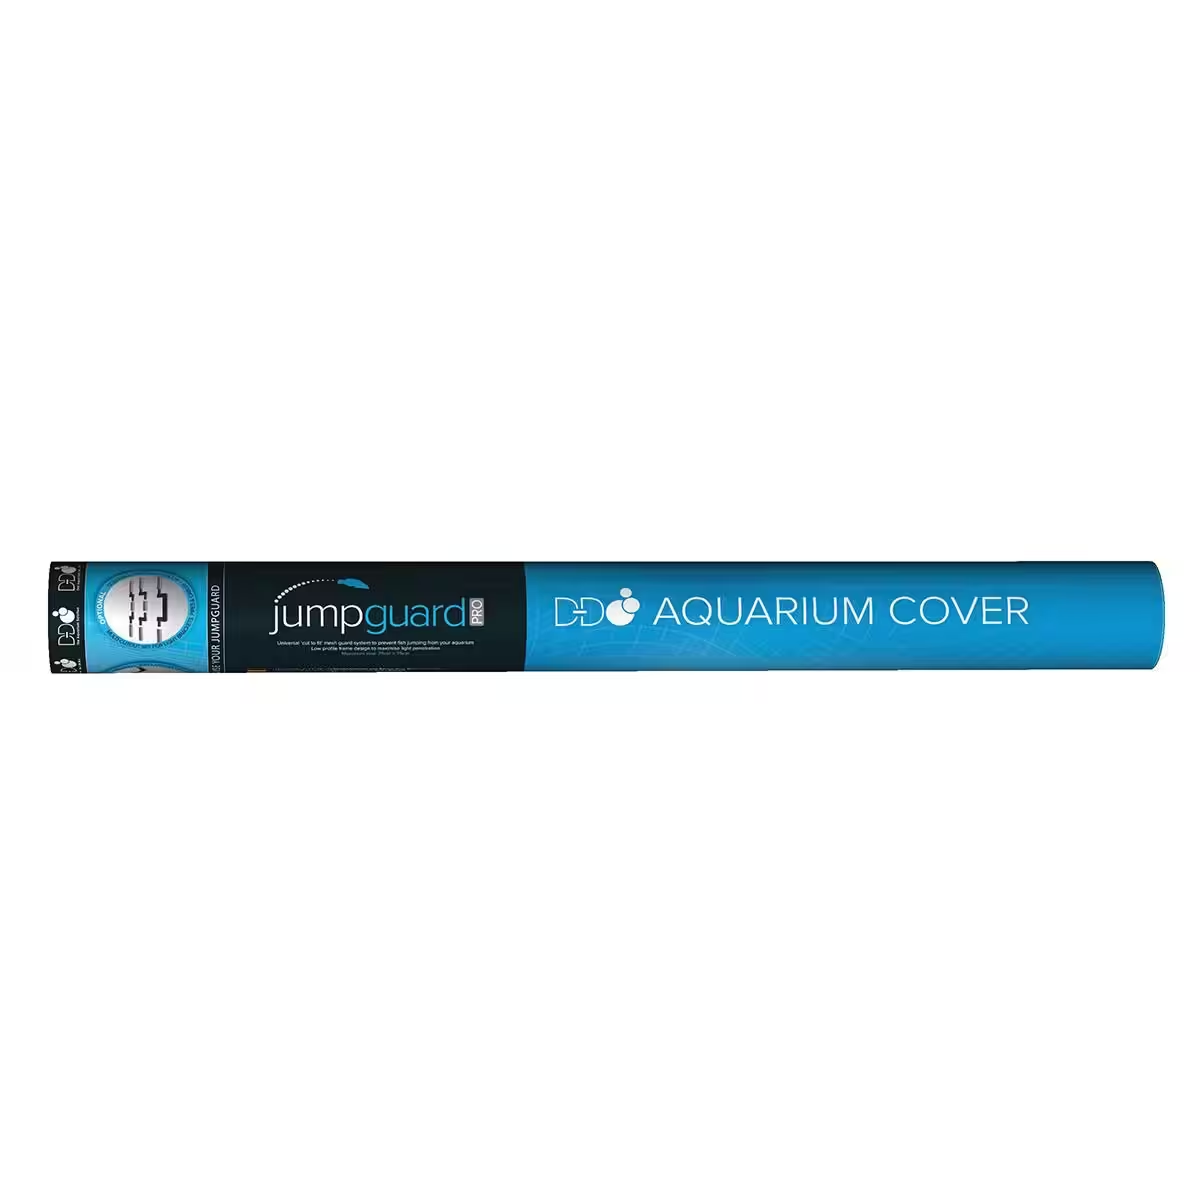
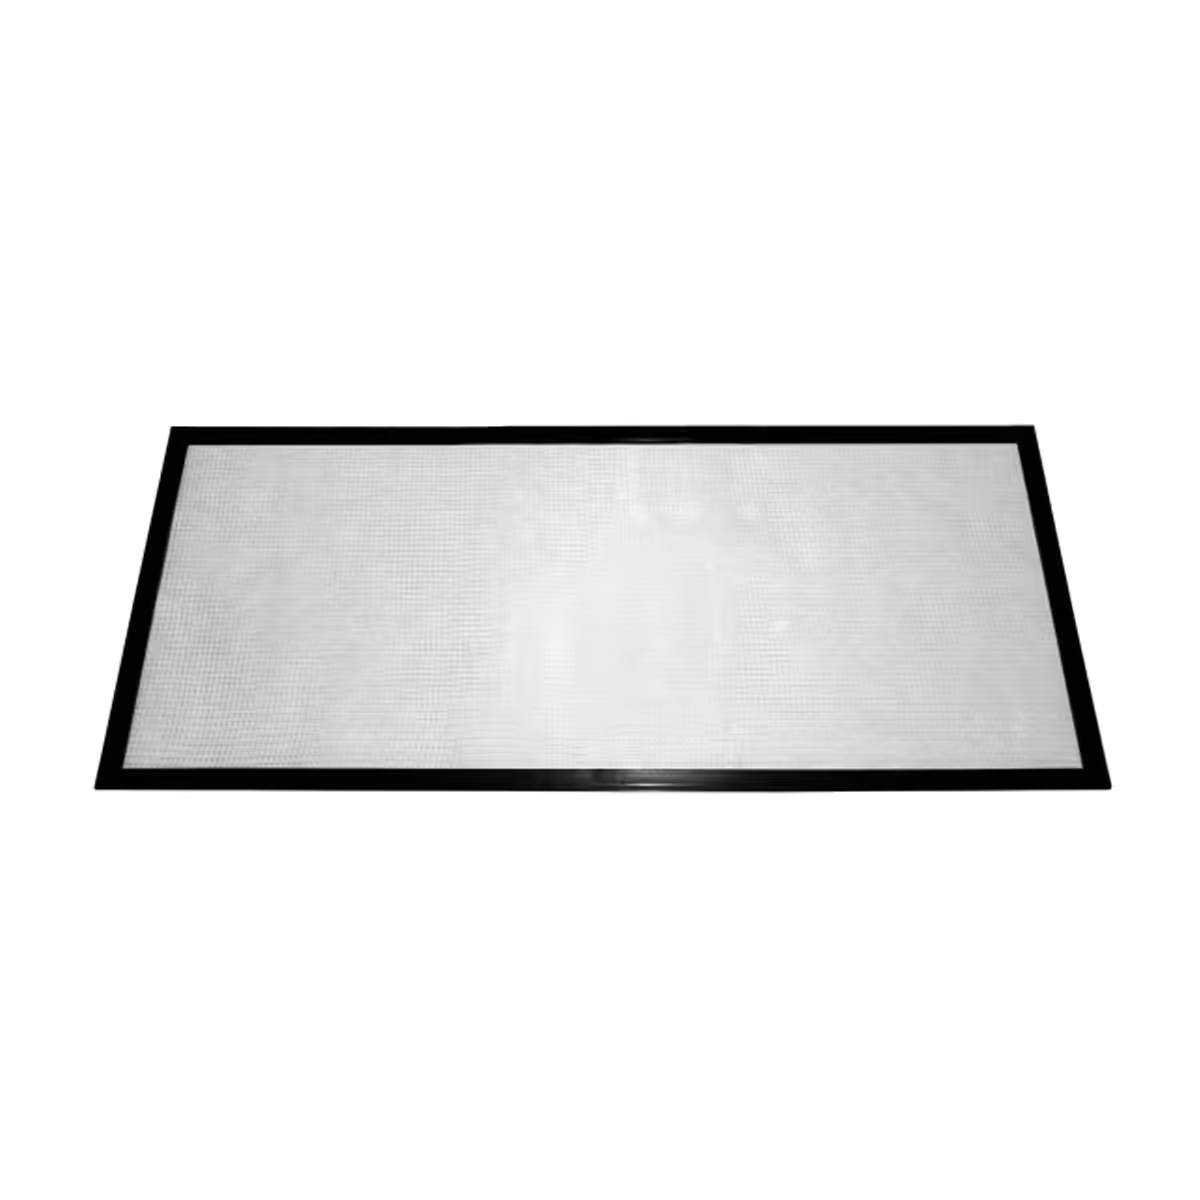
D-D Jumpguard covers are a very lightweight, sleek, low visual impact and easy to construct screen cover suitable for most aquarium types, specifically designed to prevent fish loss due to jumping whilst maintaining high light penetration.
The new Jumpguard Pro now includes cutout and brace bar parts as standard and an aesthetic black mesh.
Notes:
- The maximum size frame that can be made from each kit will be 3.6cm (1.4 inches) longer than stated in each direction.
- The tank should be measured from inside face of glass to inside face of glass and not the outer dimensions of the tank, which will vary due to glass thickness.
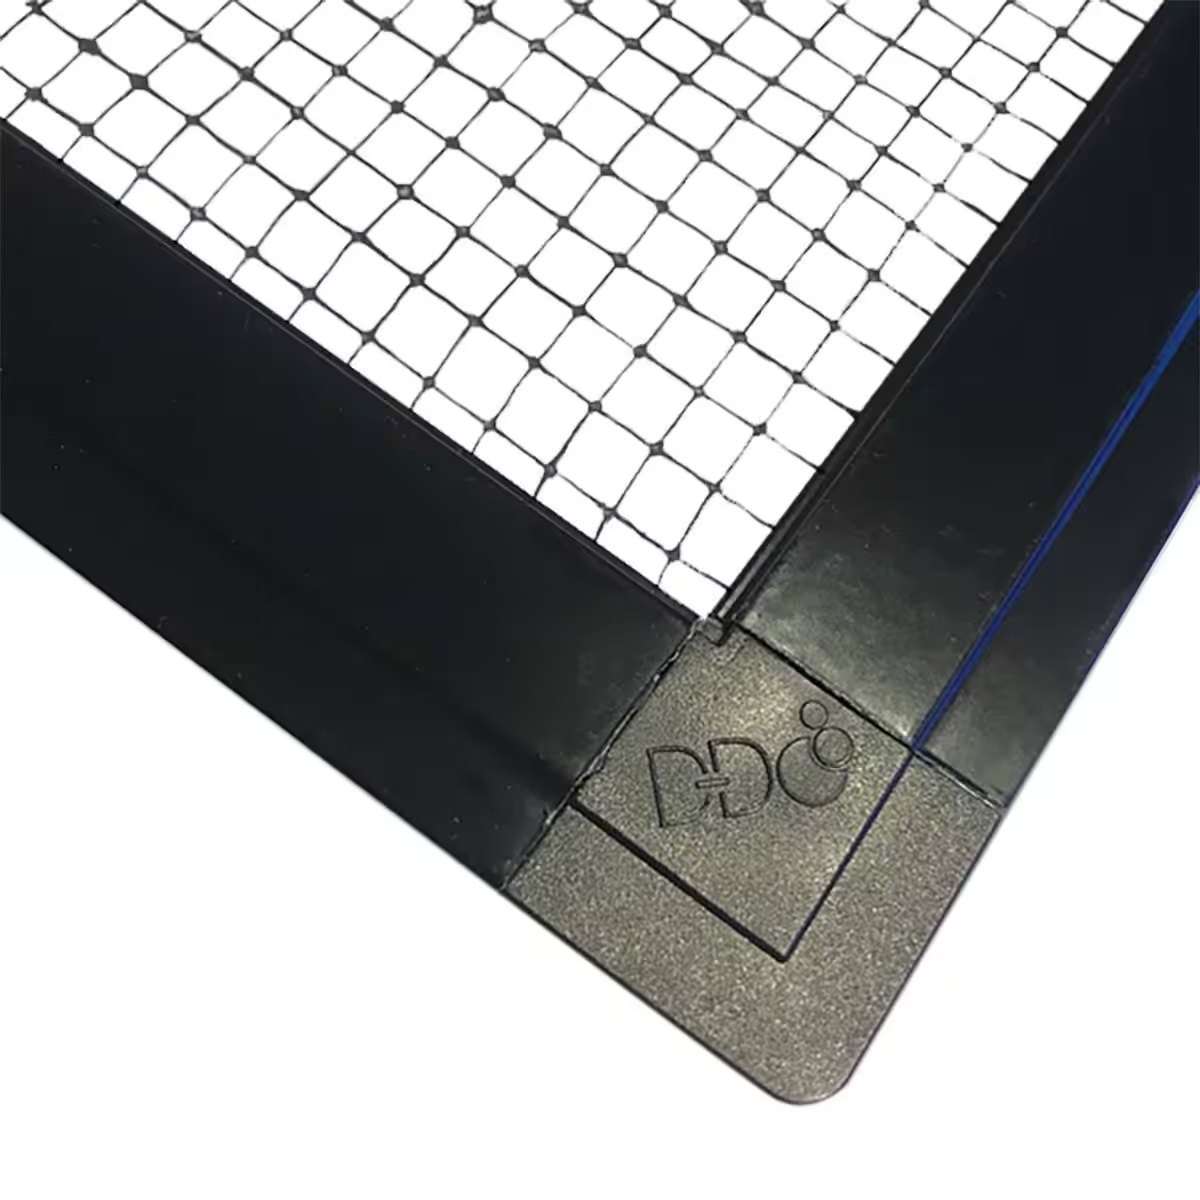
The Jumpguard Pro Aquarium Cover is a kit of parts which allows the aquarist to create a custom frame for their specific aquarium. The rigid corners and extruded aluminium section create a very solid frame which sits neatly inside glass of the aquarium glass, resting on the top lip.
Kit Contents:
TC7575
90cm x 90cm (36″ x 36″) Black mesh
5 x 75cm lengths of section in black extrusion profile
1 x red spline roller tool
6 x black standard corners
Black spline,total length 3.5m
2 x Black finger pull
2 x Reverse corner
1 x 75cm brace bar
4 x brace clips
Setup & Use
This is a cut-to-fit kit, not a finished cover. D-D supply everything oversized so it can be made to your tank, and the frame sits inside the top lip of the glass. Set aside an unhurried hour.
Tools you need and D-D do not supply: a hacksaw, a sharp knife, scissors, tape and a marking pen.
1. Measure. Measure the tank from the inside face of the glass to the inside face of the glass, not the outside, which varies with glass thickness. Then subtract 41 mm from that figure to allow for the width of the two corners. Repeat for the other dimension.
2. Cut. Wrap tape around the area you intend to cut: the marks are easier to see and the tape stops the saw scratching the extrusion. Cut straight across.
3. Assemble the frame. The plastic corners push into the end of the aluminium section. Expect to push fairly hard to get one fully home. Build three sides into a ‘U’, then put the last two corners onto the remaining piece to close the rectangle. Try the frame on the tank now and adjust for cables or for excess silicone in the corners.
4. Cables and light brackets. If pumps inside the tank need their cables out, the rear plastic corners can be cut diagonally. For cables or brackets along the back or sides, make the frame slightly shorter so a narrow slot is left between frame and glass, or use the cut-out parts.
5. Fit the mesh. Lay the mesh flat over the finished frame with the spline channel facing up. Put the two tabs of each handle into the groove in the aluminium first, under the mesh, so the handles finish on the upper side. Cut four lengths of spline slightly longer than each side.
6. Roll the spline. Start in one corner of a long side. Line the squares of the mesh up with the channel and push the spline in by hand for about 10 cm. Then use the concave end of the roller tool: push down and roll forwards, keeping the mesh gently (not tightly) tensioned. Check the mesh is still square and not gathered anywhere; if it is not right, pull the spline out and start that side again. When it is right, give it a firm roll along its length to seat it.
7. Then the opposite side, not the adjacent one, keeping the mesh loosely tensioned against the first. Do not over-tension: the mesh tightens itself as the spline rolls in. Then the remaining two sides.
8. Trim last. Check the fit, the finish and the tension before cutting anything, then trim the excess mesh and spline with a sharp knife. There is no undoing this step.
Bracing this size. The 75 × 75 kit ships with one 75 cm brace bar and four brace clips, and no T corners. On a square frame this size the long sides are single lengths, so the brace mounts on clips. Insert the clips into the frame before the spline goes in; afterwards means pulling the spline back out. D-D recommend bracing on any frame you have cut a notch into.
D-D publish tips and assembly videos on theaquariumsolution.com.
Returns & Replacement
Returns are accepted within 7 days of delivery, provided the item is unused and in its original packaging. Manufacturer-sealed items cannot be returned once the seal is broken, and sale-priced items are not refundable.
If your item arrives defective or damaged, message us on WhatsApp with your order number, or email us if you would rather, and we will replace it. Approved replacements are delivered within 3 to 5 business days. Transit damage is covered by insurance on every shipment. If tracking shows delivered but nothing reached you, tell us within 48 hours, which is the reporting window Indian couriers allow. Damage caused during installation or use is not covered; replacement spares for such cases are chargeable.
Full terms are on our Cancellation & Returns page.