Most filter problems fall into one of three symptoms: noise, weak flow, or a leak, and each of those symptoms has a short, predictable list of actual causes across canister, HOB, and internal filters. This guide is organized by symptom rather than by maintenance schedule, because a reader with a noisy filter right now and a reader planning routine upkeep are looking for different things even though the underlying fixes sometimes overlap. If you’re here for scheduled care rather than a specific problem, our canister filter cleaning steps guide covers that side in full.
Noisy Filter: Diagnosis and Fixes
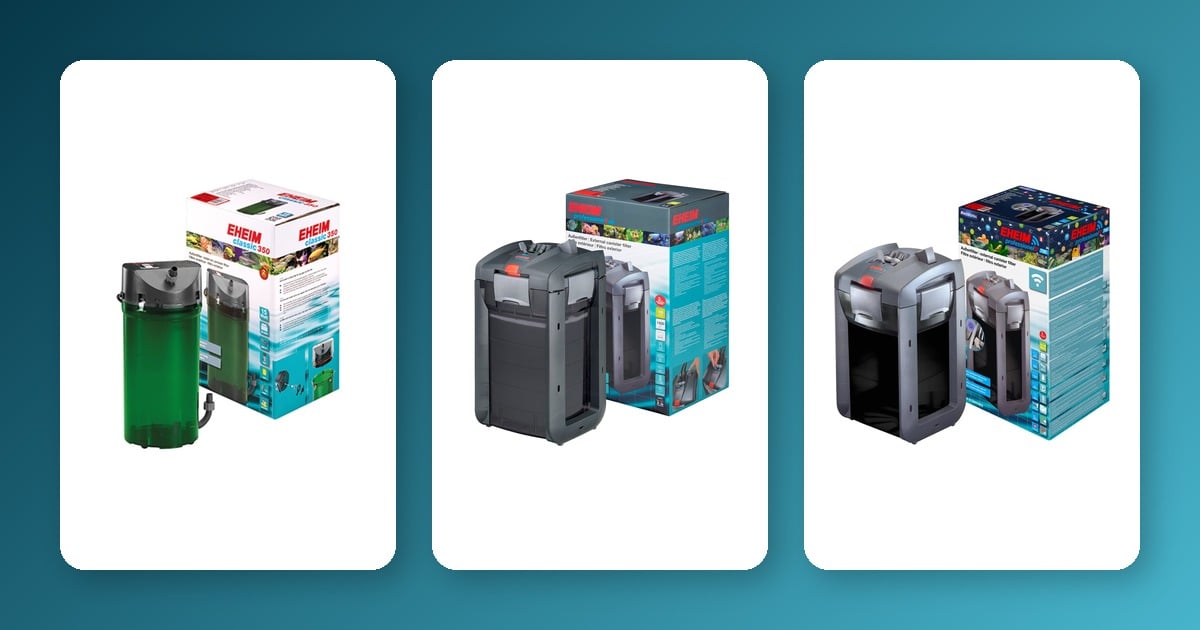
A filter that’s suddenly louder than it used to be almost always traces to one of four things. Air trapped in the impeller housing is the most common cause of a new rattling or humming sound. Re-priming the filter (following the manufacturer’s priming steps, usually filling the canister and housing fully with water before restart) clears it in most cases. A loose motorhead seal or lid lets the unit vibrate against its own housing; check that all latches or clips are fully and evenly engaged. Worn or missing rubber grommets and feet let the filter body vibrate directly against a cabinet shelf or glass, which the cabinet itself can amplify into a much louder sound than the filter is actually making. Replacing worn grommets is a small, inexpensive fix. And debris caught in the impeller (a stray piece of gravel, a snail shell fragment) causes an intermittent clicking or grinding that a quick impeller check will usually confirm immediately.
On canister filters specifically, how the unit is seated matters more than people expect: a canister sitting at a slight angle, or raised off a completely flat surface, transmits noticeably more vibration noise into a cabinet than one seated flat and level. If a filter has become noisier without any internal cause found, check that it hasn’t shifted position first.
Weak Flow: Diagnosis and Fixes
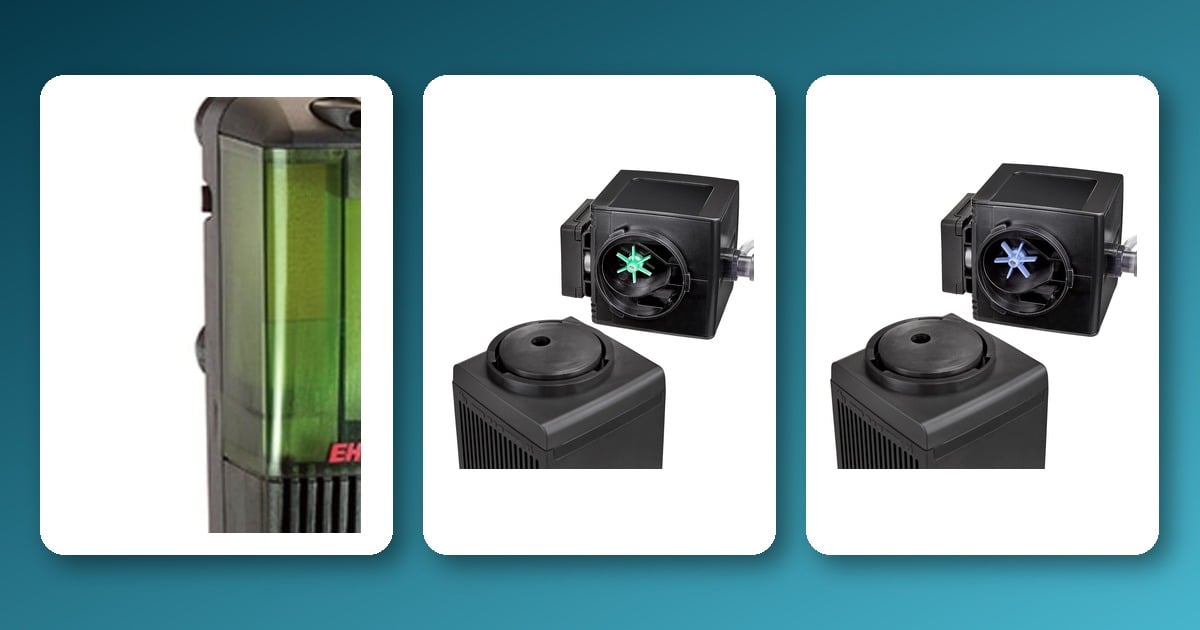
Weak flow has more possible causes than noise, so work through them roughly in order of how common they are. A clogged intake strainer is the first and easiest check: debris or algae over the intake slots restricts flow before water even reaches the pump. Compacted or overdue media is next, and it’s exactly the failure mode our canister filter cleaning steps guide exists to prevent, since media that hasn’t been rinsed in a while physically restricts flow through it. Kinked or excessively long hoses reduce flow through simple friction, and a canister positioned with too much head height above or below the tank (outside the manufacturer’s stated range) works against the pump in a way that’s easy to overlook. Shortening hose runs and keeping head height within spec recovers flow that was never actually the pump’s fault. Finally, a worn impeller (one with visibly rounded fins or play in its shaft) moves noticeably less water than a fresh one even running at full speed.
If a filter has been weak since day one rather than gradually weakening, the cause may not be a fault at all: it may have been undersized for the tank from the start. Our filter sizing & turnover-rate guide covers how to check whether a filter’s rated flow actually matches your tank and stocking level in the first place.
Leaking Filter: Diagnosis and Fixes
Most canister filter leaks trace back to the main O-ring seal around the lid or motorhead. Check it for trapped grit (a single grain of sand across the seal line is enough to cause a slow leak), misalignment during reassembly, or a seal that has simply hardened or perished with age and needs replacing. When lubricating an O-ring, use a silicone-safe lubricant specifically, never a petroleum-based one, which degrades rubber seals over time rather than protecting them. Beyond the main seal, loose hose clamps at the canister or tank connections and a cracked quick-connect fitting are the other two common leak points, and both are easy to check visually once you know to look for them specifically.
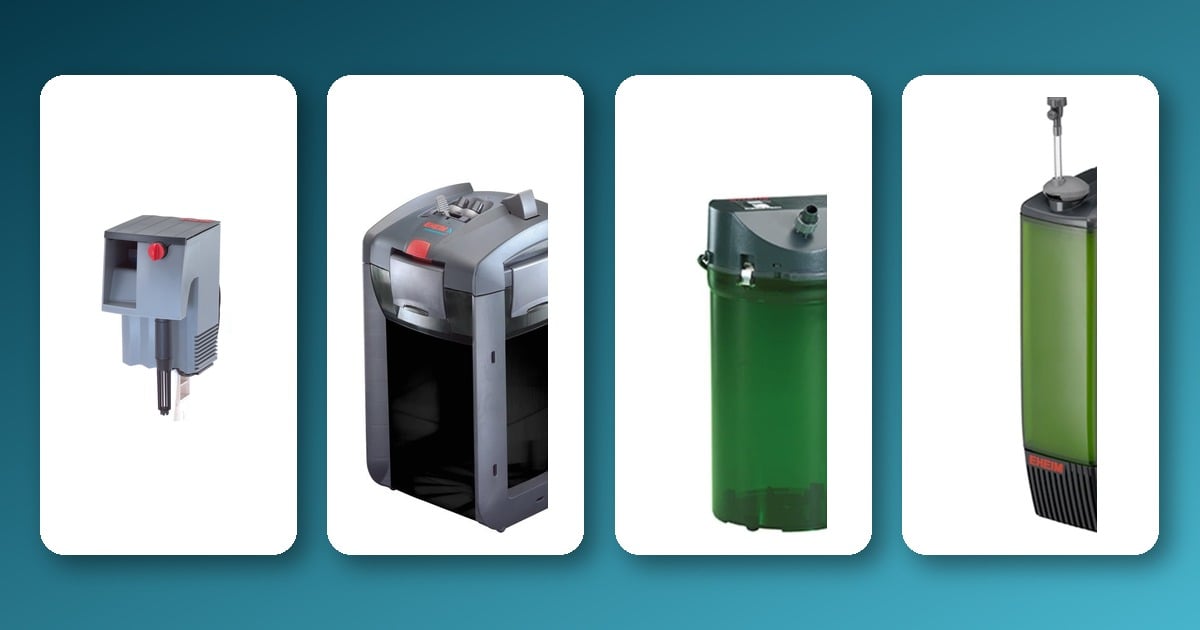
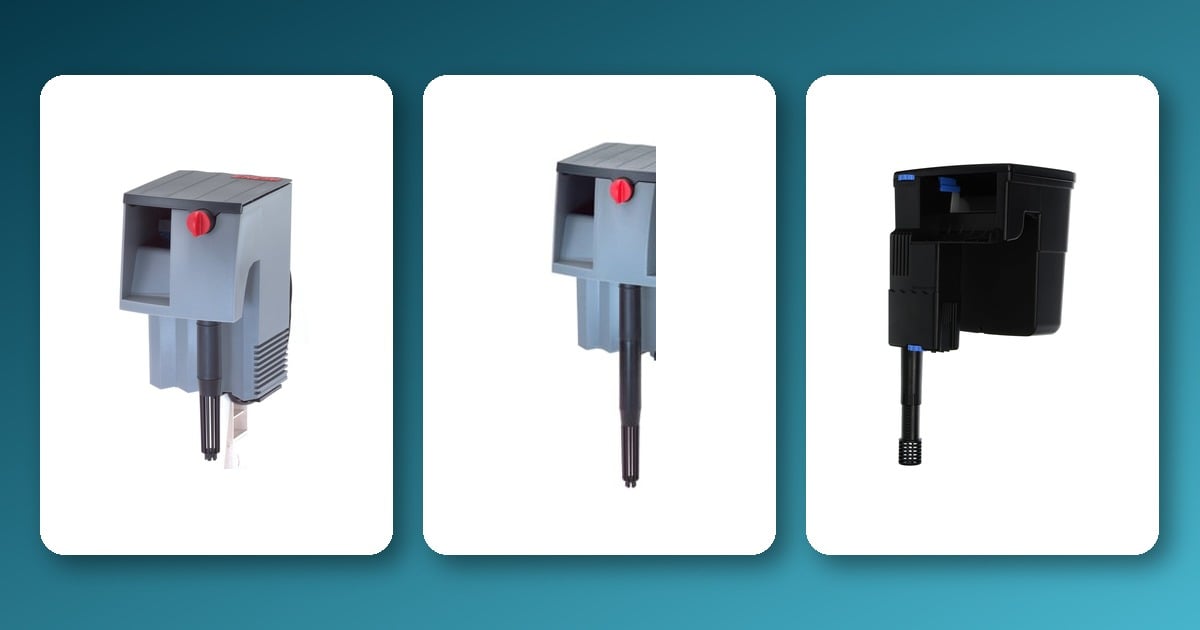
On a hang-on-back filter, be careful not to misdiagnose overflow as a leak. Water spilling from a clogged output nozzle or an overfilled media basket can look and behave exactly like a seal leak but has nothing to do with any seal at all. Clearing the nozzle or adjusting media volume fixes it, and no seal or gasket needs replacing.
A Flow Drop of 30%+ Means It’s Time to Clean
If weak flow turns out not to trace to any of the specific causes above, the underlying answer is usually simple: it’s time for a scheduled clean. A flow drop of roughly 30% or more from a freshly cleaned baseline is the real signal to act on, not a fixed calendar date: our canister filter cleaning steps guide’s maintenance-schedule section covers exactly how that threshold works and how to build a cleaning routine around it rather than a fixed interval.
When to Replace vs. Repair
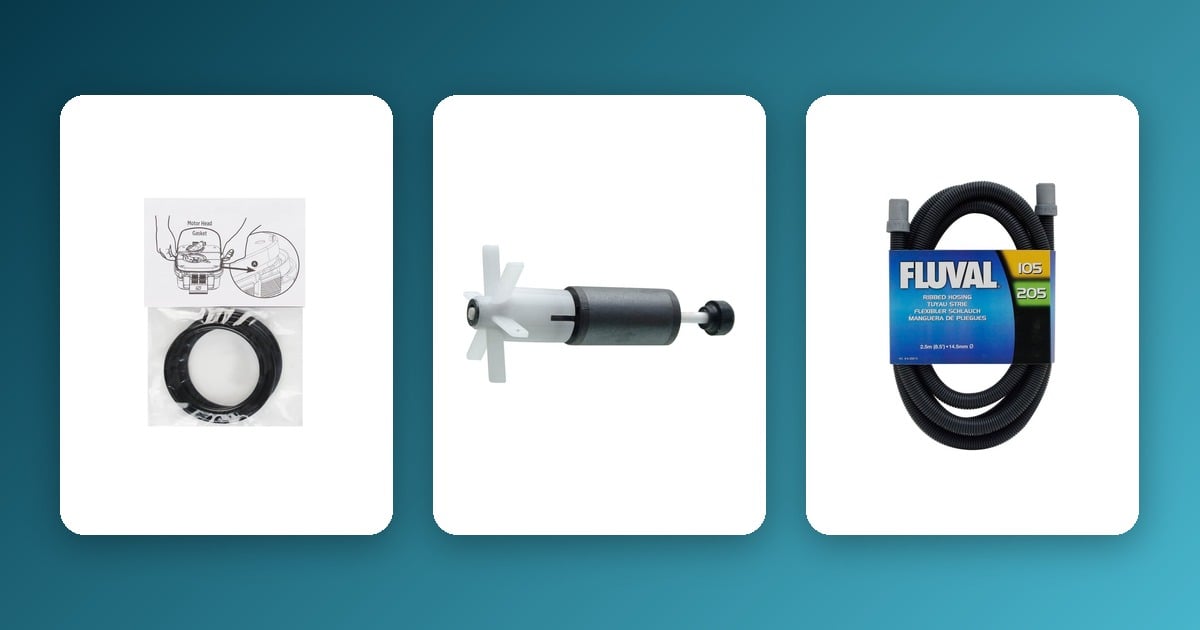
Most filter problems are repairable. Seals, impellers, and grommets are normal wear parts on any filter and replacing them on an otherwise sound unit is the right call, not a stopgap. Real spare parts exist for exactly this. For EHEIM Classic filters, both the Classic 250/2213 shaft and Classic 600/2217 shaft are in stock, along with impellers for the 250/2213, 350/2215, and 600/2217. For Fluval FX-series canisters, a Fluval FX2/4/5/6 AquaStop Valve and a Fluval FX5/FX6 Motor Seal Ring cover two of the most common wear-part failures on that range, and a Fluval Magnetic Impeller (306/406) is a genuine like-for-like replacement if impeller wear turns out to be the weak-flow cause on one of those models.
Replace rather than repair when the problem is a cracked canister body (plastic that has visibly split or crazed isn’t a seal issue and can’t be reliably sealed back up) or a motor that has failed outright rather than just running noisily. Those are structural or electrical failures, not wear-part problems, and no spare part fixes either one safely.
Frequently Asked Questions
Is it normal for a new filter to be a little noisy at first? Some settling noise in the first day or two, especially while any trapped air works its way out during initial priming, is normal. Persistent noise beyond the first few days of operation is worth diagnosing using the checks above rather than assumed to be normal break-in.
Can I fix a cracked canister myself? No. A cracked canister body is a structural failure under water pressure, and there’s no reliable DIY repair for it. Treat a cracked canister body as a replace decision rather than attempting a seal or adhesive fix, both for safety and because a failed repair risks a much larger leak later.
How do I know if it’s the impeller or the media causing weak flow? Check media first since it’s the more common cause and the easier check: rinse mechanical and biological media per the cleaning guide above and see if flow recovers. If flow is still weak with freshly cleaned media, pull the impeller and inspect it directly for wear (rounded fin edges, visible play in the shaft, or a grinding feel when spun by hand) rather than guessing between the two.