A canister filter’s biological media is where the bacterial colony that processes ammonia and nitrite actually lives, and a badly done cleaning session is the single most common way hobbyists accidentally crash that colony, usually right after they’ve just done the “responsible” thing and cleaned their filter on schedule. The mechanics of cleaning a canister filter aren’t complicated, but the order of operations and a handful of specific habits are what separate a cleaning session that protects the colony from one that quietly wipes it out. This is the step-by-step version of the brief maintenance note in our canister filter buying guide: that guide covers the basics in a paragraph; this one covers the actual procedure.
The One Rule That Matters Most
Before anything else: always rinse filter media in removed aquarium water, never tap water. A bucket of water siphoned out during a routine water change is ideal: it’s already coming out of the tank, so using it to rinse media costs nothing extra. Tap water in most municipal supplies contains chlorine or chloramine specifically because it’s meant to kill bacteria, and it does exactly that to the nitrifying bacteria on your filter media just as effectively, essentially instantly on contact. This single habit matters more than every other step in this guide combined: get this one right and the rest is difficult to get badly wrong.
Step-by-Step Cleaning Process
- Unplug and disconnect. Switch off and unplug the filter at the wall before touching any hose or valve. Close the inlet and outlet shut-off valves if your filter has them, then disconnect the hoses from the canister head.
- Open the canister. Release the clamps or latches holding the lid or motor head in place and lift it clear. Expect some residual water to spill, so have a towel and a shallow tray ready.
- Remove media baskets or trays in order. Lift out the stacked baskets (or, on tray-less models, the media compartments) in sequence, keeping track of which basket sat where, since most canisters route water through baskets in a specific order for a reason, and reassembling them out of sequence changes how the filter actually performs.
- Gently swirl biological media in tank water. Submerge the biological media (ceramic rings, bio-balls, sintered glass) in a bucket of the tank water you set aside and swirl or gently agitate it, just enough to dislodge loose detritus. Don’t scrub it and don’t rinse it under pressure. The bacteria live in a thin film on the media’s surface, and aggressive cleaning strips that film off along with the debris you’re trying to remove.
- Rinse mechanical media more thoroughly. Filter floss and foam are doing a different job (trapping particulate debris rather than hosting bacteria), so they can and should be rinsed more thoroughly than bio-media, in the same bucket of tank water, until the water runs reasonably clear.
- Replace chemical media on schedule rather than rinsing it. Activated carbon and similar chemical media work by adsorption and have a finite capacity: once exhausted, rinsing does nothing to restore them. Replace on the schedule stated on the packaging (typically 3-4 weeks for carbon) rather than trying to extend its life by cleaning it.
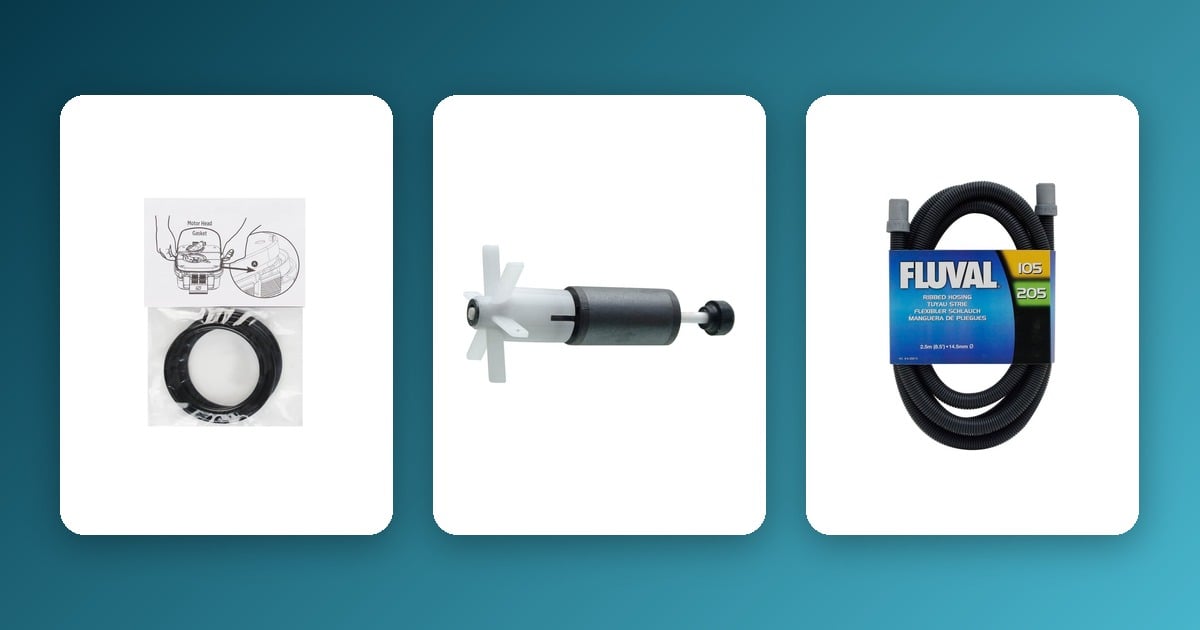
- Check and clean the impeller and impeller well. Slide the impeller out of its housing and check both the impeller itself and the well it sits in for debris, grit, or a buildup of mineral deposits. A partially obstructed impeller is one of the most common causes of reduced flow that looks like a “the filter is dying” problem but is actually a five-minute fix.
- Reassemble and re-prime. Return media baskets to their original positions, reconnect hoses, reopen the shut-off valves, and prime the filter per its manufacturer instructions before switching it back on. Watch the first few minutes of operation for leaks at the hose connections and the lid seal.
Staggered Cleaning to Protect Bacteria
On a multi-basket canister, the single biggest thing you can do to protect the colony is to never clean every basket in the same session. Clean one basket or tray per cleaning visit and rotate through them over successive cleanings, so at any given moment the majority of the colony is undisturbed and can compensate for whatever was just cleaned. This staggering is what actually prevents a full mini-cycle after routine maintenance: cleaning everything at once is the single most common way people accidentally trigger exactly that.
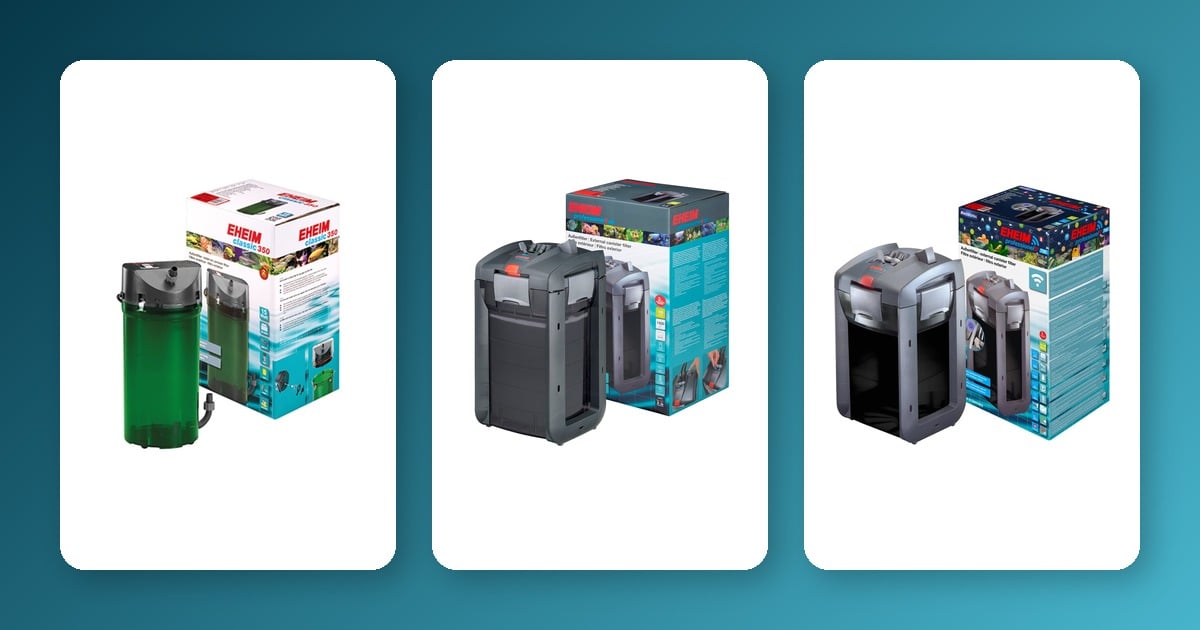
The EHEIM Classic range needs a different version of the same principle, since it doesn’t use stacked baskets at all: media sits hand-packed in layers held by fitted grids. Stagger by media type and by cleaning date instead of by basket: clean the mechanical layer on one visit, leave the biological layer alone that same session, and rotate which layer gets attention on the next cleaning rather than doing a full strip-down every time.
How Often to Clean
Skip the fixed calendar approach. The real signal that a canister needs cleaning is a meaningful drop in flow rate: a 30%+ reduction from when the filter was freshly cleaned is the threshold most experienced hobbyists actually use, not a date on a schedule. In practice this tends to land somewhere in the 4-8 week range depending on bioload and how heavily planted or stocked the tank is, but a lightly stocked tank can comfortably run longer between cleanings while a heavily stocked one may need attention sooner. If you’re not sure whether your filter’s flow has actually dropped or something else is going on, our filter troubleshooting guide covers how to diagnose weak flow specifically.
EHEIM Classic-Specific Notes
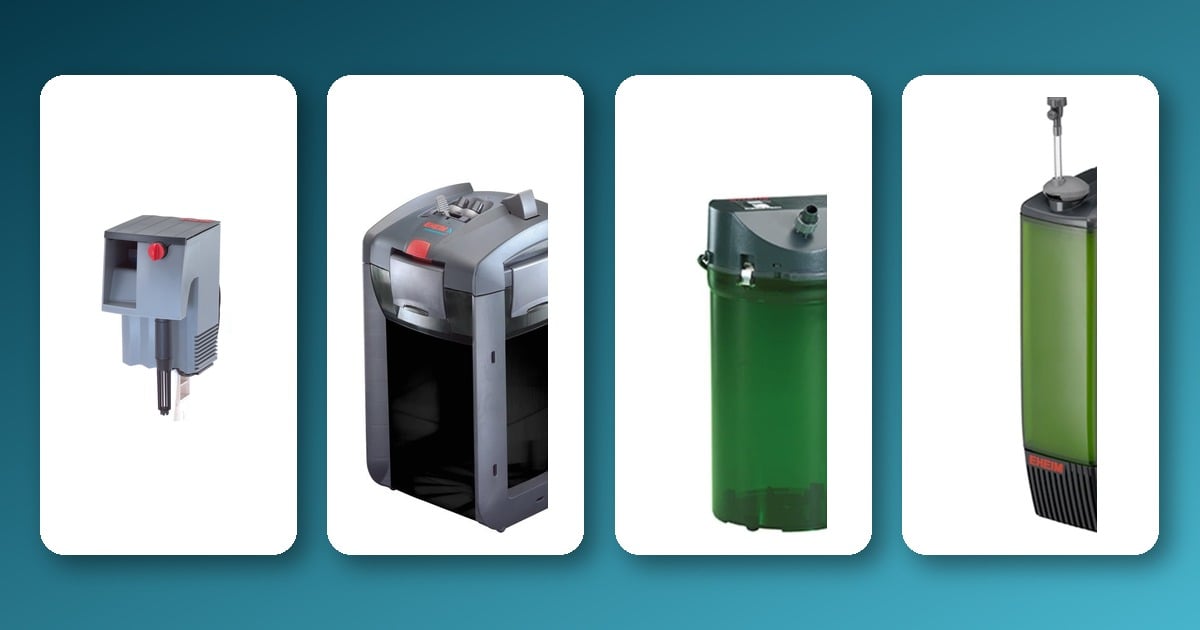
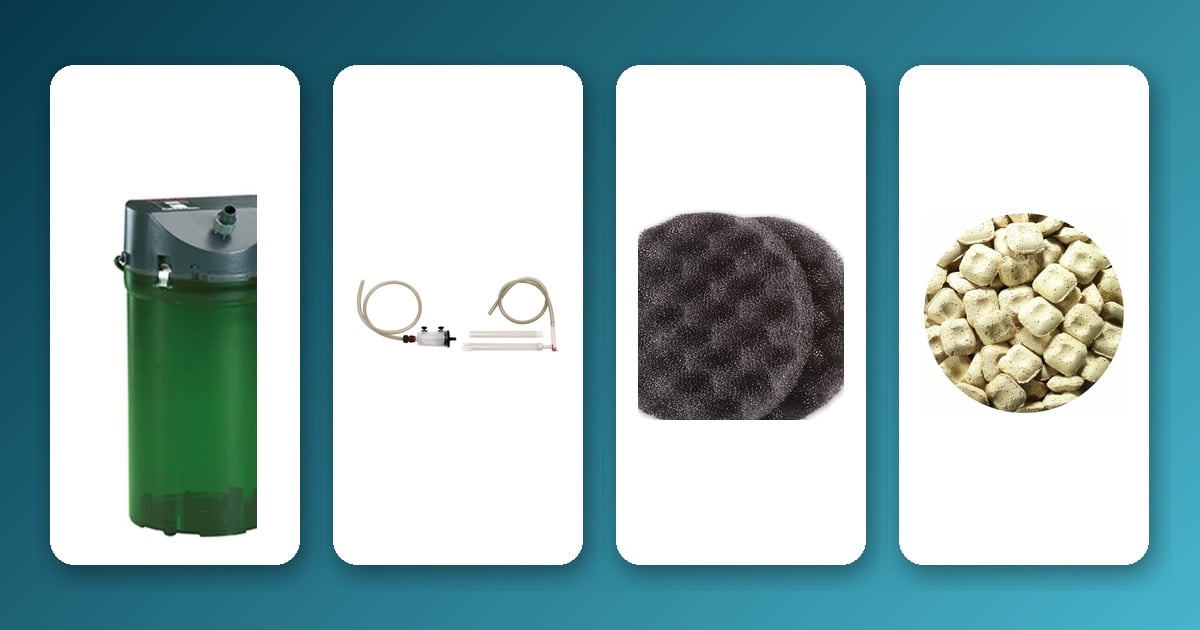
The EHEIM Classic range uses metal spring clips to seal the canister rather than the plastic latch-and-clamp mechanism common on modern basket-style filters like the Professionel line, and media sits in place using fitted grids rather than removable baskets. This makes a Classic slightly more hands-on to clean the first time (there’s no basket to simply lift out), but it becomes straightforward once you’ve done it once, and the spring-clip seal is, if anything, more reliable long-term than a plastic latch. The EHEIM Classic Filter 250 is a representative example of this design if you want to see the layout before your first cleaning session. Our EHEIM filter range guide covers how Classic compares to the basket-style Professionel line if you’re deciding between the two before buying.
For general upkeep tools that work across canister brands, a Fluval FX Gravel Cleaner Kit is genuinely useful for the substrate side of routine maintenance alongside filter cleaning, and if you’re due for a mechanical-media refresh rather than just a rinse, a Fluval FX2/4/5/6 Bio-Foam+ 2-Pack is a real replacement option worth knowing about even outside the Fluval FX ecosystem specifically, since foam degrades and loses its trapping efficiency over repeated cleanings regardless of brand.
Frequently Asked Questions
Can I clean my canister filter too often? Yes. Cleaning well before flow has actually dropped disturbs the bacterial colony for no real benefit and, if done to every media basket at once repeatedly, can keep the colony permanently under-established. Clean based on the 30%+ flow-drop signal, not out of habit or anxiety.
Do I need to clean the impeller every time? Not every cleaning session, but check it every time you have the canister open regardless. A quick visual and tactile check costs almost nothing, and catching a grit-fouled impeller early prevents the noise and reduced-flow problems that a badly worn one eventually causes.
What if I forgot to clean it for months? Don’t do a single deep clean of everything at once: that’s the scenario most likely to crash your cycle. Instead, clean one basket or media layer now, wait a week to ten days, then clean the next, staggering the overdue cleaning across several sessions rather than catching up all at once. Watch ammonia and nitrite with a test kit through that period as a precaution.