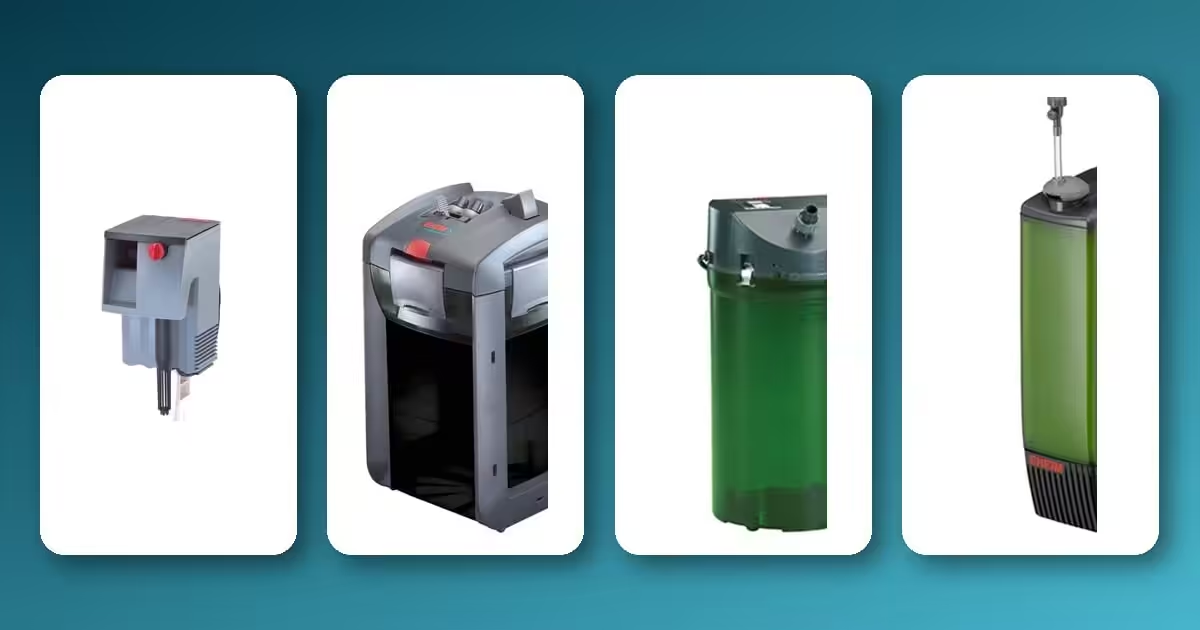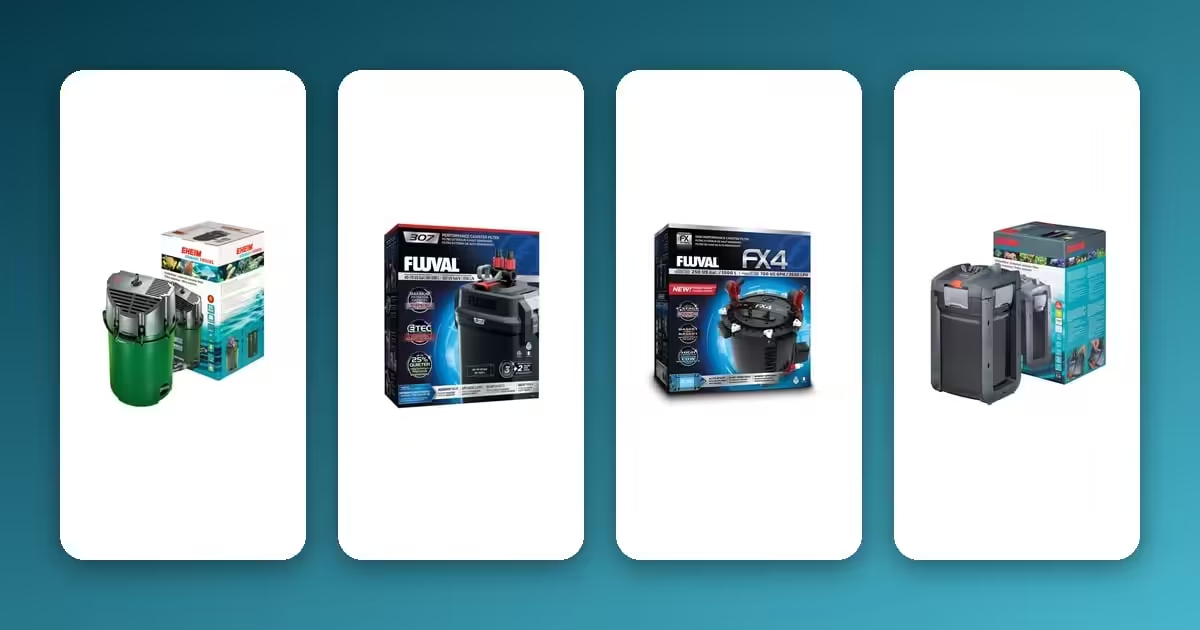
A canister filter is an external aquarium filter that sits outside the tank and draws water through inlet and outlet tubing into sealed media chambers, running mechanical, biological, and chemical filtration before returning clean water to the tank. Because the canister sits outside rather than inside or clipped to the rim, it holds far more filter media than an internal or hang-on-back filter, making it the standard choice for anything beyond a small, lightly stocked freshwater or marine setup. Sizing one correctly means matching its rated flow rate to your tank volume for roughly 4-6 total water turnovers per hour. Undersizing is the single most common canister filter mistake. IndieFur stocks canister filters from EHEIM, Fluval, and HYDOR: EHEIM edges ahead on long-term quiet reliability, Fluval on ease of disassembly and price, and HYDOR on compact, budget-friendly sizing for smaller tanks. This guide covers sizing, media capacity, brand differences, and maintenance in detail.
How canister filters work
Water is drawn from the tank, passed through several stacked media baskets inside the canister, and returned via a spray bar or outlet nozzle. The media baskets typically run three stages: mechanical (trapping debris), biological (housing the bacteria that handle the nitrogen cycle), and chemical (activated carbon or similar, for polishing water clarity and odor). Because the whole process happens sealed outside the tank, canister filters run quieter than most internal or HOB filters once properly primed.
Canister vs. internal and hang-on-back filters
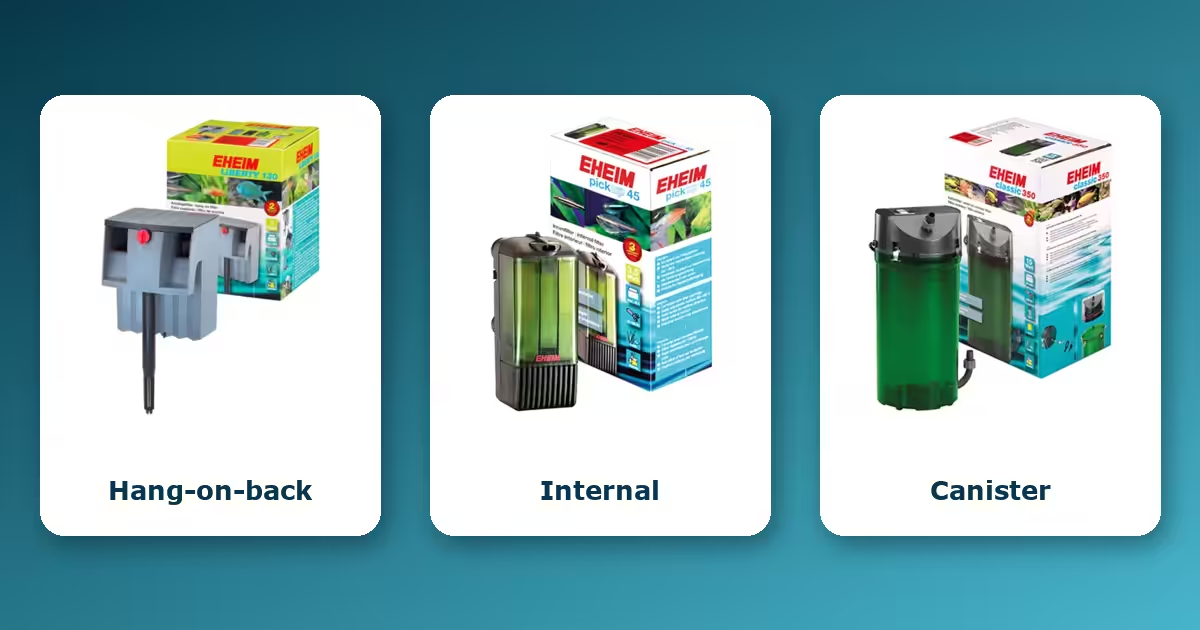
All three filter types do the same basic job (mechanical, biological, and chemical filtration), but differ in where that happens and how much media they can hold. An internal filter sits inside the tank, is cheapest, and is fine for small or lightly stocked setups, but it eats into usable tank space and offers the least media capacity. A hang-on-back (HOB) filter clips onto the rim, is easy to install and service, and suits small-to-medium tanks well, but its media capacity and flow customization are still limited compared to a canister. A canister filter sits fully outside the tank, holds by far the most media of the three, and is the only realistic option once you’re running a heavily stocked or larger tank. The tradeoff is a higher upfront cost and slightly more involved cleaning.
Each of the other two formats is covered in depth on its own page: hang-on-back filters explained walks through how a HOB moves water and where its media ceiling starts to bite, and internal filters explained covers the nano, quarantine and shrimp cases where an internal is the better choice than anything external.
Sizing a canister filter to your tank
The standard rule of thumb is turning over your total tank volume roughly 4-6 times per hour for a typical planted or community setup. Check the filter’s rated flow rate (litres/hour) against your tank size before anything else. Undersized filtration is the single most common canister filter mistake; it’s better to size up than to run right at the edge of a filter’s rated capacity.
| Tank Size | Target Flow Rate (4-6x turnover/hr) | Typical Use Case |
|---|---|---|
| Up to 60L (nano) | ~300-500 LPH | Nano planted or shrimp tanks |
| 60-150L | ~600-750 LPH | Standard community tanks |
| 150-300L | ~1,000-1,500 LPH | Larger community or lightly stocked planted tanks |
| 300-500L | ~1,500-2,500 LPH | Heavily stocked or larger planted/reef tanks |
| 500L and above | 2,500+ LPH | Large display tanks and ponds |
Treat these as starting points, not hard rules: a heavily stocked tank or one with large, messy fish should size toward the higher end of its bracket, while a lightly stocked planted tank can sit comfortably at the lower end.
As a reference point, catalog options at IndieFur span a wide range: compact nano-rated filters starting around 40 litres of tank capacity, mid-range options rated for 200-350 litre tanks, and high-flow models built for large tanks and ponds well above that. Match the filter to your actual tank volume rather than buying the biggest one available. Oversizing wastes money without meaningfully improving water quality once you’re already turning the tank over 4-6 times an hour.
The table above is calibrated for canister filters specifically; if you’re weighing a canister against a hang-on-back, internal, or sump setup, our filter sizing and turnover-rate guide extends the same math across all four formats.
Canister filter flow rate calculator
Enter your tank size for a target flow rate at 4-6x turnover per hour, using the same rule covered above, plus in-stock filter options near that flow rate.
Media capacity & types
More media baskets mean more total media volume, which means longer intervals between cleanings and more stable biological filtration. If you’re running a heavily stocked tank or a tank prone to algae/nutrient issues, prioritize a model with more media baskets and the flexibility to mix mechanical, biological, and chemical media rather than a fixed single-stage cartridge system.
The three media types do different jobs, and most canisters let you mix all three across their baskets. Mechanical media (filter floss, foam pads, fine sponge) physically traps debris: the finer the pore size, the more particulate it catches, but the faster it clogs and needs rinsing. Biological media (ceramic rings, sintered glass, bio-balls) is where the actual nitrogen-cycle bacteria live; what matters here is total surface area, not raw volume, so a basket packed with porous ceramic rings out-performs the same space filled with a few large bio-balls. Chemical media (activated carbon, phosphate or ammonia removers) is optional polishing rather than a permanent fixture: carbon exhausts within a few weeks and starts leaching back what it absorbed if left in too long, so treat it as a periodic addition, not a standing component. When comparing models, check the actual usable media basket volume in litres rather than the external canister size: basket walls, handles, and mounting hardware can eat 15-20% of a canister’s outer volume before any media goes in.
EHEIM vs. Fluval: how the two ranges differ
IndieFur stocks canister filters from both EHEIM and Fluval, and the choice between them usually comes down to maintenance style and budget rather than one being flatly better than the other.
| Aspect | EHEIM | Fluval |
|---|---|---|
| Reputation | Long-standing reputation for quiet, reliable long-term running | Known for accessible pricing and straightforward maintenance |
| Priming & startup | Manual priming on entry-level Classic models; self-priming on higher-end lines | Self-priming pump-assist startup standard across most of the range |
| Media setup | Loose-fill baskets on Classic models; modular trays on higher-end lines | Modular media baskets/trays across the range, generally quick to swap |
| Maintenance access | Quick-release hose connectors on newer ranges | Quick-disconnect valves standard, generally fast to detach for cleaning |
| Best for | Hobbyists prioritizing long-term reliability and minimal noise | Hobbyists who want easier disassembly and faster routine cleaning |
Browse current specs and pricing on the individual product pages: exact flow rates, media basket counts, and included accessories vary by model within each range.
If you have already settled on EHEIM, the differences within their range matter more than this comparison does. The EHEIM filter range guide explains what Classic, professionel 4, professionel 5e, LiBERTY and Pick Up are each built for, and how to choose between them on fit rather than on price.
Common canister filter buying mistakes
Most canister filter regrets trace back to one of a handful of decisions made before checkout, not to the filter itself:
- Sizing to the tank’s rated capacity, not its actual water volume. Substrate, decor, and equipment displace water: a tank rated for 200L often holds closer to 170-180L once furnished. Size the filter to your real volume, not the number printed on the tank.
- Ignoring head height and hose run length. A filter’s rated flow assumes a short, direct plumbing run. Placing the canister well below the tank, routing long or kinked hose runs, or adding extra elbows all reduce effective flow below the spec-sheet number, so size up if your setup will need a longer run than the filter was tested with.
- Choosing on price per litre-per-hour alone. Two filters rated at the same flow can differ substantially in media basket count and usable media volume: the cheaper one is often cheaper because it holds less media, not because it’s more efficient.
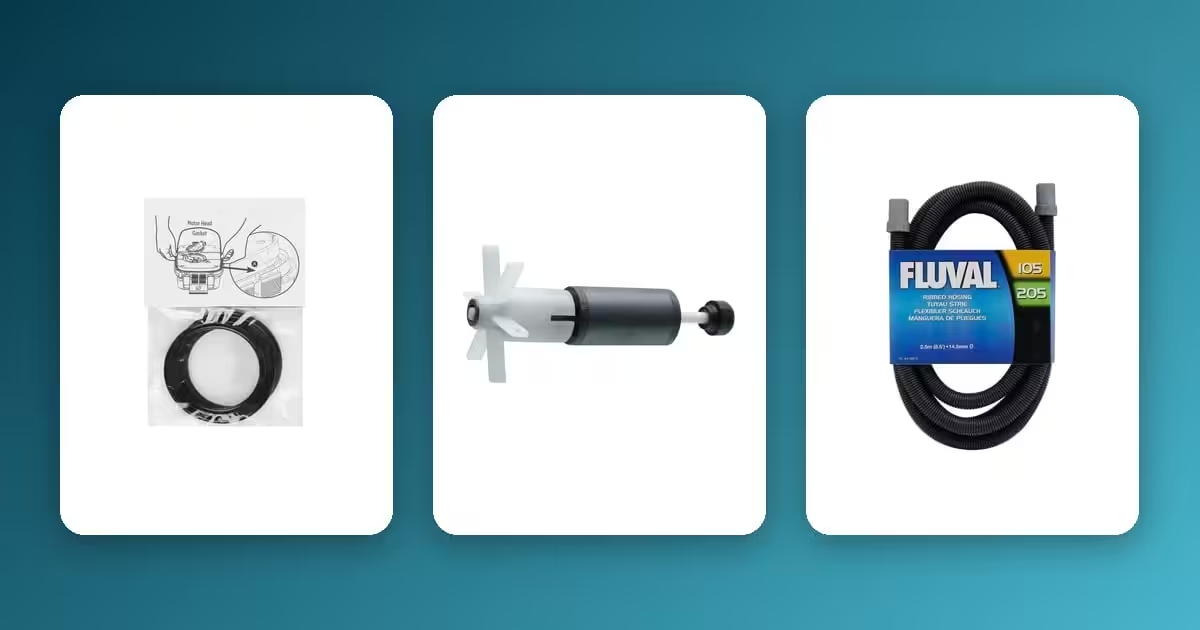
- Not checking spare-parts availability in India before buying. Impellers, O-rings, and hose clamps wear out well before the canister body does. Confirm the model has an active local parts supply before committing, especially for less common brands or older model years.
- Buying a WiFi model without checking the connectivity requirements first. Some smart filters need a stable 2.4GHz connection near the tank and an ongoing app account; confirm this fits your setup before paying the premium for it.
Setting up a new canister filter for the first time
A new canister filter needs a proper first startup, not just a plug-in. Fill the canister body with tank water before closing it: on manual-prime models this is what gets water moving through the media baskets instead of trying to draw air through a dry system; self-priming models handle this step internally but still need the intake and outlet fully submerged before you switch them on. Once running, check every hose connection and the canister lid seal for drips over the first 24 hours: a slow leak at a loose clamp is far easier to catch on day one than after it’s soaked a shelf.
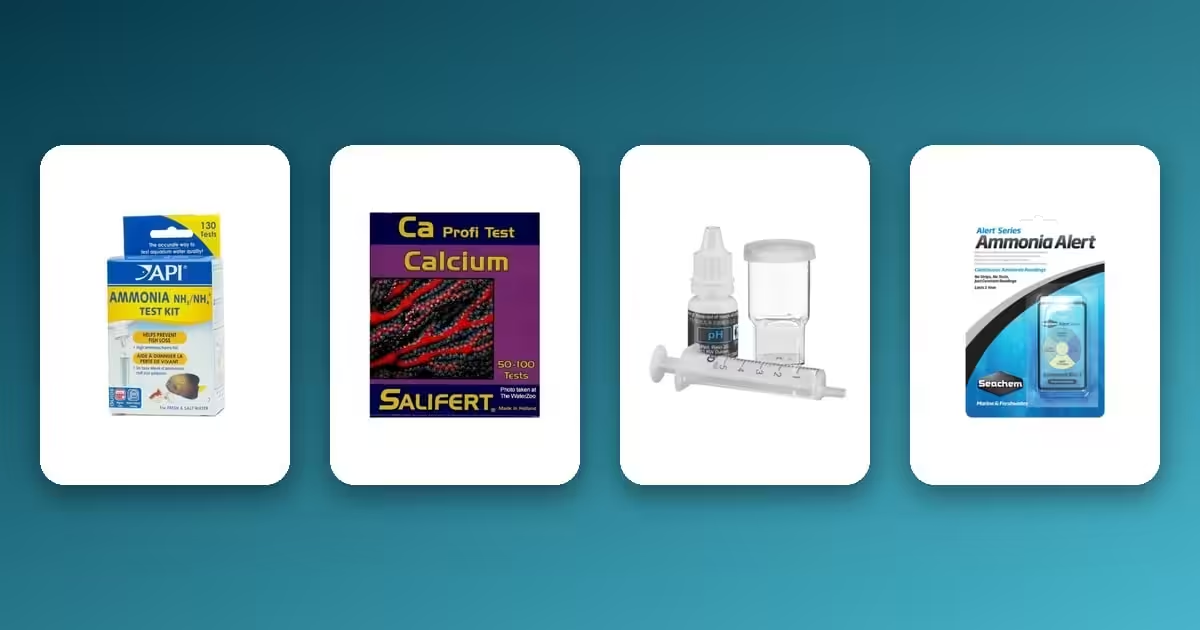
Treat the first several weeks as a cycling period rather than expecting full biological filtration immediately: the bacteria colonies that process ammonia and nitrite need time to establish on the biological media, so stock lightly at first and monitor water parameters rather than adding a full fish load on day one. Avoid rinsing new biological media in tap water even during this early period: chlorine and chloramine in tap water kill the same bacteria you’re trying to establish. Finally, resist the urge to over-tighten hose clamps and canister latches; manufacturer torque is usually enough, and over-tightening is a common cause of cracked fittings on plastic canister bodies.
Noise & maintenance
Look for self-priming models (filters that can restart water flow after cleaning without manually siphoning water through the intake tubing), since priming by hand is the most tedious part of canister filter maintenance. Quick-disconnect valves on the inlet/outlet lines are also worth prioritizing; they let you detach the canister for cleaning without draining or disconnecting the tubing itself, which meaningfully cuts down maintenance time.
Beyond the filter itself, a few habits keep maintenance predictable: stagger media rinses so you’re never cleaning all media types on the same day (this avoids wiping out too much beneficial bacteria at once), keep a spare set of O-rings and impeller parts on hand since these wear out well before the canister body does, and log your cleaning dates so you’re working from your tank’s actual bioload rather than guessing.
For the full step-by-step process, including how to stagger cleanings without crashing your bacterial colony, see our canister filter cleaning and maintenance guide.
Canister filters for marine and reef tanks
A canister filter works on marine and reef tanks, but it’s rarely the sole filtration on a serious reef setup. Reef tanks typically rely on live rock and a sump with a protein skimmer for the bulk of biological filtration and nutrient export: a canister’s sealed media baskets don’t move enough water past the live rock to replace that, and skimming needs an open sump, not a sealed canister. Where a canister earns its place on a reef is as supplemental mechanical and chemical filtration: running carbon or a GFO (granular ferric oxide) reactor media for phosphate control, or polishing water clarity after a water change, on a tank that already has a sump and skimmer handling the core bioload.
Canisters make more sense as primary filtration on smaller marine or FOWLR (fish-only-with-live-rock) tanks that don’t have the room or budget for a full sump setup, sized the same way as a freshwater tank, by matching rated flow to tank volume for 4-6x turnover. One saltwater-specific check before buying: confirm the model’s motor housing and seals are rated for marine use, since salt creep reaching an unsealed motor shaft is a common cause of early failure that doesn’t come up in freshwater. If running biological media at all in a reef setup, keep the volume modest: live rock is already doing most of that job, and an oversized biological media bed mainly adds a spot for detritus to accumulate.
Smart & WiFi-enabled filters
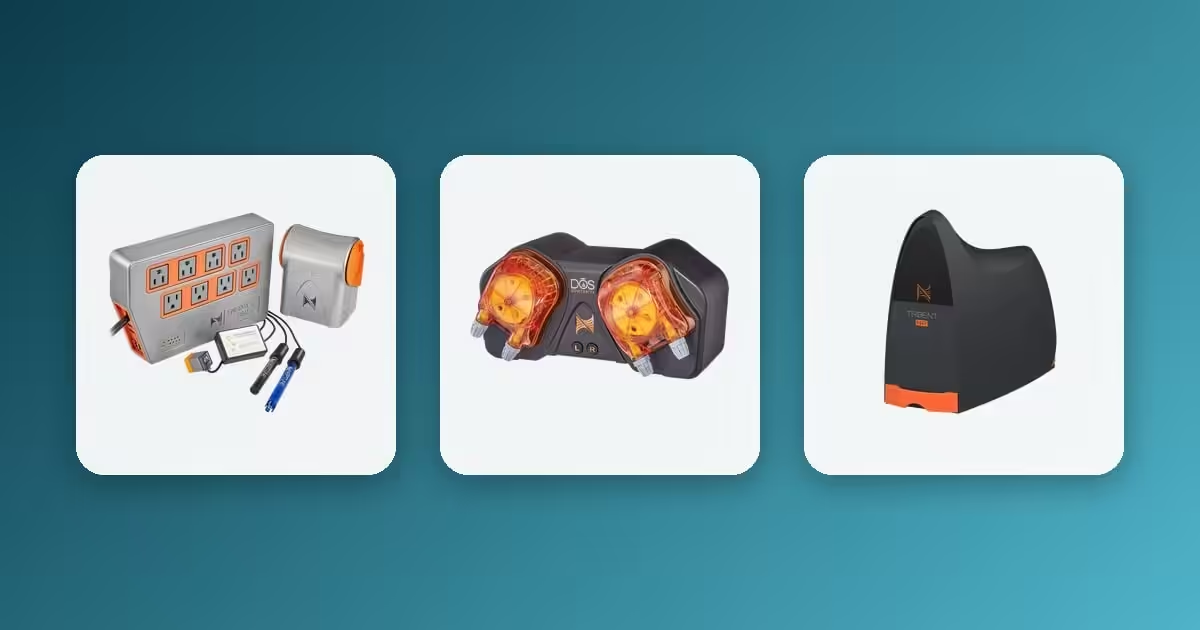
Some higher-end canister lines now include WiFi monitoring and, on certain models, an integrated heater, letting you track flow rate and temperature remotely and get alerts if something goes wrong. This is a genuine convenience upgrade rather than a necessity, worth the premium mainly for larger or higher-value tanks where an undetected filter failure would be costly. If you’re considering one, check the app’s connectivity range from your router to the tank and confirm alerts and monitoring work over your local WiFi rather than requiring an ongoing cloud subscription; this varies by model and is worth confirming before paying the premium.
EHEIM’s professionel 5e line is the main WiFi-enabled range stocked here. The EHEIM filter range guide sets out what the electronics actually buy you over the non-electronic professionel 4: adjustable flow and low-flow alerts, not extra filtration capacity.
Shop canister filters
Browse the full Aquarium External Filter range at IndieFur, including EHEIM and Fluval, plus Aquarium Filter Media to fill it.
FAQ
How often should I clean a canister filter?
Every 4-6 weeks for a typically stocked tank is a reasonable default, though tanks with heavier bioloads may need it more often. Rinse mechanical media in tank water (never tap water, which can kill the beneficial bacteria) and only replace chemical media like carbon on the manufacturer’s schedule.
Is a canister filter better than a hang-on-back filter?
For anything beyond a small tank, generally yes: more media capacity, quieter operation, and better flow control. HOB filters remain a reasonable, cheaper choice for smaller or lightly stocked tanks.
Can I use a canister filter on a marine or reef tank?
Yes: see the dedicated section above on marine and reef tank use for how it fits alongside a sump and protein skimmer.
Should I buy EHEIM or Fluval?
Both are well-regarded: EHEIM tends to edge it on long-term quiet reliability, Fluval on ease of disassembly and price accessibility. For most home aquariums either range will comfortably do the job at a matched flow rate; the decision usually comes down to which maintenance style and budget fits you better.
What happens if I undersize my canister filter?
Poor turnover leads to weaker biological filtration, more visible debris, and a tank that’s more prone to algae and cloudy water even with regular water changes. This is the most common canister filter mistake, so size up rather than to the bare minimum.
Do I need a pre-filter sponge on the intake?
It’s a cheap, worthwhile addition: a sponge pre-filter on the intake tubing keeps larger debris, snails, and shrimp or fry out of the impeller, and it’s easier to rinse than disassembling the canister itself for a quick clean.
Can I run two canister filters on one tank?
Yes, and it’s common practice on larger or heavily stocked tanks: splitting flow across two units also means you can clean one at a time without ever leaving the tank without established biological filtration.
How long does a canister filter typically last?
The canister body itself often outlasts the internal wear parts: impellers, O-rings, and seals typically need replacing well before the housing does. With routine descaling and timely part replacement, several years of service is a reasonable expectation.