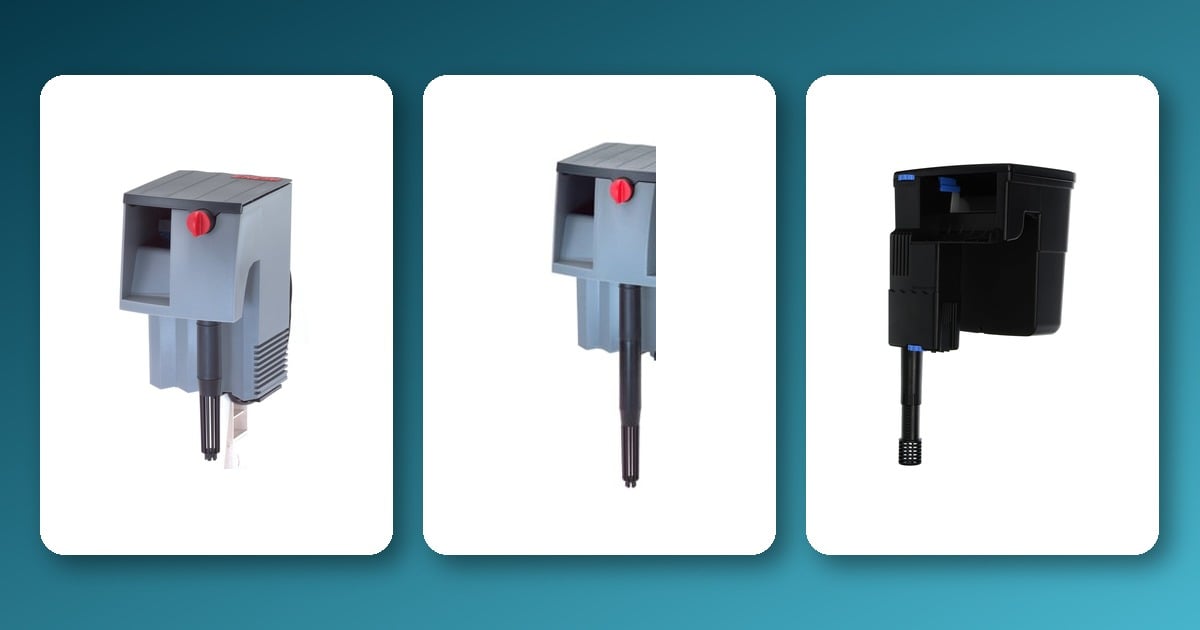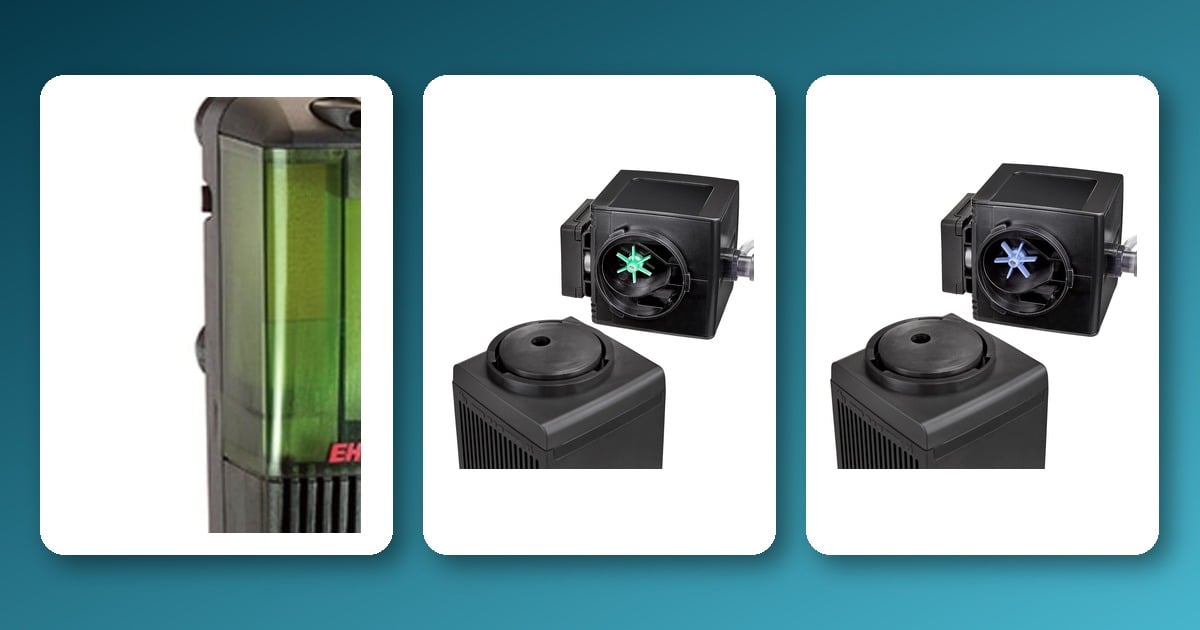
An internal filter is a self-contained pump and media housing that sits inside the aquarium, usually held to the glass with suction cups or a magnet bracket. It draws water in through slots in its body, passes it through a sponge or a small media cartridge, and pushes it back out through a nozzle. Everything happens inside the tank, which is what separates it from a canister filter sitting in the cabinet or a hang-on-back clipped to the rim. That single design decision explains both its appeal and its limits: no hoses, no leak risk and no installation, but the media volume is small and the unit occupies space you can see. Internal filters are the right answer for nano tanks, quarantine tanks, breeding tanks and shrimp setups, and the wrong answer for anything large or heavily stocked.
How an internal filter works
The mechanism is the simplest of the three formats. An impeller in the lower body pulls water through intake slots, forces it upward through a sponge or media cartridge, and expels it through an outlet nozzle at or just below the water surface. There is no siphon to establish and no pressure differential to maintain, which is why an internal filter restarts by itself after a power cut with no intervention at all.
Most internals rely on a single sponge doing double duty: mechanically trapping debris and, once mature, hosting the bacterial colony that handles ammonia and nitrite. Better designs separate these: a coarse pre-sponge for debris that you can rinse frequently, and a separate biological chamber you leave alone. That separation is the main thing distinguishing a serious internal filter from a budget one, because a single-sponge design forces you to choose between clogged flow and a disturbed colony every time you clean.
Outlet design matters more than it sounds. A fixed nozzle aims flow in one direction and creates a dead spot behind the filter. A directional or ball-jointed outlet lets you angle the return along the glass to sweep debris toward the intake, or upward to break the surface for gas exchange. Some models add a venturi air intake, which draws bubbles into the return: useful for oxygenation, unhelpful in a planted tank running injected CO2.
Internal filter vs. canister filter
The comparison is not close on capacity. A canister holds several litres of media across stacked baskets; an internal holds a sponge and, at best, a small secondary chamber. Media volume determines how large a bacterial colony the filter can support, so the canister wins on stocking capacity, service interval and resilience by a wide margin.
The internal wins on everything to do with installation and risk. It cannot leak. There is nothing outside the tank to leak into. It needs no cabinet space, no hose routing, and no priming. It costs a fraction of a canister. And it can be moved between tanks in under a minute, which is exactly what you want from a quarantine or hospital filter.
The dividing line in practice is around 60-80 litres. Below that, a canister is overkill and its hoses take up more visual space than the internal ever would. Above it, the internal starts needing servicing often enough to be annoying, and above about 120 litres it simply cannot keep up with normal community stocking. For tanks in canister territory, our canister filter buying guide covers sizing and media capacity in detail.
Internal filter vs. hang-on-back
These two compete directly in the small-tank range, and the choice comes down to where you are prepared to lose space.
An internal takes up volume inside the tank and is visible from the front unless you plant or hardscape around it. A hang-on-back takes up clearance behind the tank and is invisible from the front, but needs that rear gap and a rim it can clip to, which rules it out on many rimless and cabinet-mounted setups.
The HOB generally holds more media and agitates the surface more effectively through its waterfall return. The internal is quieter, cannot lose prime, and works at any water level. For a tank with a tight-fitting lid, no rear clearance, or a fluctuating water line, the internal is the only one of the two that will work at all. Our guide to hang-on-back filters covers that format’s own trade-offs.
The honest pros and cons
Internal filters do a number of things well. Nothing can flood, since installation is just a suction cup and a plug, and they restart unattended after power cuts, which matters where cuts are routine. They are cheap enough to keep a spare cycled and ready for a quarantine tank. Because the sponge sits in the water column, it also stays wet and biologically alive even if the pump stops. A canister that sits switched off for a day, by contrast, goes anaerobic and can dump ammonia when restarted.
Internal filters also have real downsides. Media volume is the hard limit and there is no way around it. They occupy visible tank space, which is a real cost in a small aquascape, and flow is harder to tune than on a good HOB or canister. Heat from the motor goes into the tank rather than the cabinet, which is negligible on most setups but not zero in a warm room. Chemical filtration options are also limited to whatever fits the small secondary chamber, if there is one.
EHEIM Pick Up: single-unit servicing
The Pick Up range is built around one idea: the whole filter lifts out of the tank as a single piece for cleaning, with no disassembly inside the water. That sounds minor until you have cleaned a filter that requires unclipping a sponge underwater and clouding the tank in the process.
The Pick Up 45 covers nano tanks, quarantine and breeding setups. The Pick Up 60 and Pick Up 160 step up through small community tanks, and the Pick Up 200 sits at the top of the range. Note that the model numbers refer to litres of tank capacity while the product codes reference flow rate, which is a common source of confusion when ordering.
The Pick Up suits someone who wants filtration they can service in thirty seconds without tools. It is deliberately unambitious about media flexibility. This is not the filter to buy if you want to run a specific resin.
Sicce Shark Pro: adjustable flow and directional output
The Sicce Shark Pro range takes the opposite approach: a larger body, an adjustable flow control, and a directional outlet you can angle precisely. The Shark Pro 500 starts the range, with the Shark Pro 700 and Shark Pro 900 covering progressively larger tanks.
Working flow control is the feature that earns its place. Most internal filters run at one speed, and the usual workaround, wedging sponge in the outlet, creates back-pressure on the pump rather than genuinely reducing flow. A proper control lets you run a betta tank or a shrimp tank at a current the inhabitants can actually live in, then turn it up when the tank is more heavily stocked.
The directional outlet is the second reason to choose one. Angling the return along the front glass sweeps settled debris toward the intake instead of letting it accumulate in a dead corner, which measurably reduces how often you need to siphon the substrate.
For current prices, stock status and a side-by-side buying comparison across IndieFur’s full internal filter range, including the ISTA Ceramic and Fluval U-series alongside the EHEIM and Sicce models above, see our buying guide to choosing an aquarium filtration system.
Sizing and nano tanks
The same four-to-six turnovers per hour rule applies, but with a caveat specific to this format: manufacturers rate internal filters with a clean sponge, and a sponge is the fastest-clogging medium there is. Real flow two weeks into a service cycle can be well under half the rated figure. Size up rather than down.
In nano tanks under 30 litres, turnover is usually not the constraint: current is. A filter that meets the turnover rule can easily push a betta or a nano fish population around the tank continuously. Prioritise adjustable flow over rated capacity in that range.
Shrimp tanks need one addition regardless of model: a sponge guard over the intake slots, or shrimplets will be drawn in. The guard doubles as extra mechanical filtration and extra biological surface, so it is not purely defensive. Our shrimp tank setup guide covers the rest of the requirements.
Maintenance
Rinse the mechanical sponge every two to three weeks in a bucket of tank water. Never under the tap. Chlorinated water kills the bacterial colony, and on a single-sponge internal that colony is the entire biological filter.
Where the filter has a separate biological chamber, leave it alone. Clean it only when flow has dropped despite a clean mechanical sponge, and then only by gentle agitation in tank water.
Pull and clean the impeller every three to four months. Internal filters sit in the substrate’s debris zone and pick up grit more readily than a canister does, and grit in the impeller housing is the usual cause of a filter that has become suddenly noisy.
Check the suction cups every few months. They perish, and a filter that falls to the substrate will draw sand straight into the impeller.
Frequently asked questions
Can an internal filter run a planted tank? A low-tech one, yes. For injected CO2, choose a model with no venturi air intake and angle the outlet below the surface. Bubbles and hard surface agitation both drive CO2 out of solution.
Is an internal filter enough on its own? On a tank up to roughly 60-80 litres with sensible stocking, yes. Beyond that it should either be sized well above the tank volume or paired with something else. It is also a good supplementary filter on a large tank: running one alongside a canister gives you somewhere to put chemical media you swap often.
Why is my internal filter noisy? Almost always grit in the impeller, or the outlet sitting at the water line and drawing air. Lower the outlet slightly and, if that does not fix it, pull the impeller and rinse the housing.
Can I hide an internal filter? Yes, and it is the standard approach in aquascaping: position it in a rear corner behind hardscape or a stand of tall stem plants, with the outlet angled across the back glass. Leave enough clearance to lift the unit out for servicing.
How long does an internal filter take to cycle? Four to six weeks from new, the same as any filter. Seeding the sponge by squeezing a mature filter’s sponge over it, or by running it alongside an established filter for a fortnight, cuts that substantially.