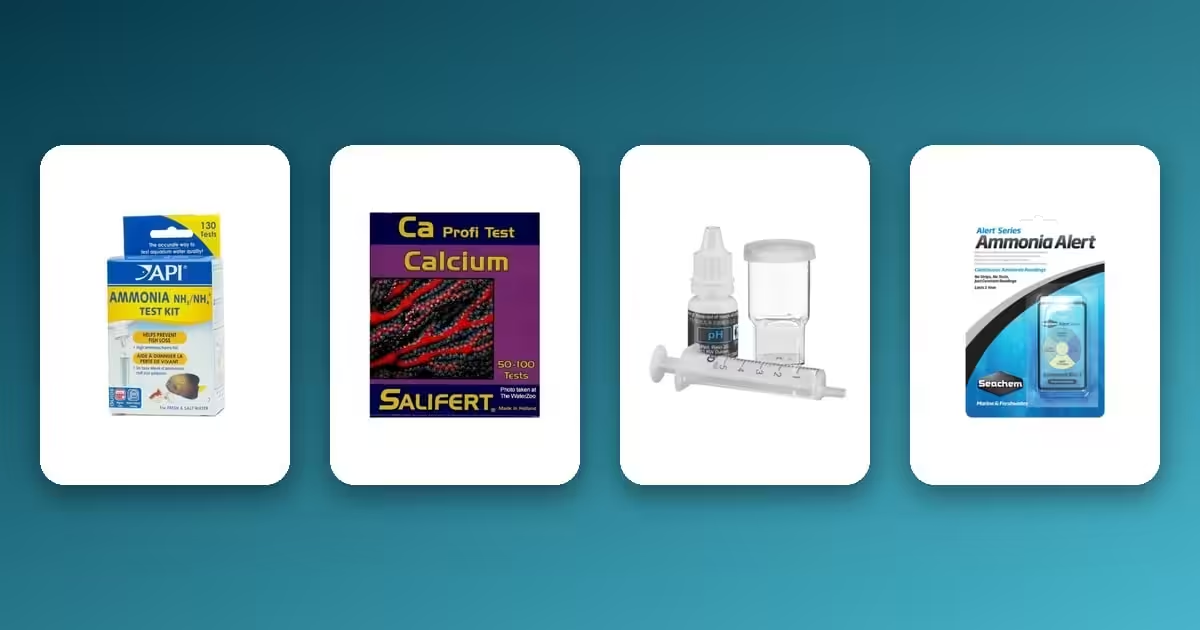
Reef corals build their skeletons from calcium and carbonate, and most tanks run through it fast enough that supplementing without testing is a guess. Natural seawater holds 400 to 425 ppm calcium; most reef aquariums are kept in the same range, and a titration test like the Salifert Calcium Profi-Test is how you find out where yours actually sits.
This kit works by titration: you add a reagent drop by drop until the sample changes color, then read the amount used off a syringe scale. It is more hands-on than a strip test, and it is also more accurate, which matters once you are dosing to keep SPS corals alive. The steps below follow Salifert’s own instruction sheet for the Calcium Profi-Test, with the parts people usually get wrong called out separately.
What’s in the box
The Salifert Calcium Test Kit ships with three reagents, not one: Ca-1 (a powder, with its own measuring spoon), Ca-2 (a dropper bottle), and Ca-3 (a liquid you draw into a graduated 1 ml syringe). You also get a 2 ml sampling syringe, a test vial, and a printed reading table. It measures 0 to 500 ppm calcium in 10 ppm steps, and one kit is good for roughly 50 tests at full resolution (2 ml sample) or about 100 at half resolution (1 ml sample, then double the result).
Ca-2 is a mild alkali, under 2% sodium hydroxide, and will irritate skin or eyes on contact. Rinse immediately with water if it gets in your eyes, and keep the kit away from children.
The titration procedure, step by step
- Draw 2 ml of tank water into the test vial with the syringe. Using 1 ml instead halves your resolution but doubles the number of tests you get from the kit; if you do this, double the final reading.
- Add one level spoon of Ca-1 powder (about half a spoon in the 1 ml mode). Do not mix it in yet.
- Add 8 drops of Ca-2 (4 drops in the 1 ml mode). Swirl the vial, do not shake it, for 10 seconds. The sample turns pink.
- Fit the plastic tip onto the 1 ml syringe and draw up Ca-3 to the 1.00 ml mark, keeping the tip submerged in the reagent the whole time. A small air gap below the plunger is normal and does not affect the result.
- Add Ca-3 to the vial drop by drop, swirling for a second or two after each drop.
- Watch the color: it moves from pink-red through purple before settling into a clear blue. Stop the moment no pink tint is left.
- Hold the syringe with the tip pointing up and read where the top of the black plunger sits. The syringe is graduated in 0.01 ml steps.
- Calculate calcium in ppm as (1 minus the reading) x 500. If you used a 1 ml sample in step 1, double that number.
For example, a reading of 0.70 ml gives (1 – 0.70) x 500 = 150, then reading the table directly at 0.70 ml also gives 150 ppm on a 2 ml sample. A reading of 0.10 ml works out to 450 ppm, near the top of the healthy range for most reef tanks.
Reading the color change without guessing
The pink-to-blue shift is gradual, not instant, which is exactly where most people misjudge the endpoint. Test under plain white light, not your tank’s actinic or blue lighting; the pink and purple stages look nearly identical under blue LEDs. Holding the vial against a sheet of white paper makes the last trace of pink much easier to spot than holding it up to the room.
Target calcium levels for reef tanks
| Aquarium type | Calcium level |
|---|---|
| General marine aquarium | 380-450 ppm |
| Soft coral reef tank | 400-450 ppm |
| LPS coral aquarium | 400-450 ppm |
| SPS coral reef tank | 420-450 ppm |
Calcium does not move alone. It is consumed alongside alkalinity (carbonate) in a fixed ratio as corals build skeleton, so a calcium reading only tells half the story; test alkalinity and magnesium from the same water sample to see whether the whole system is balanced, not just one number.
What actually goes wrong with this test
- Adding Ca-3 in a stream instead of drop by drop is the single most common error. Because the formula subtracts your reading from 1, overshooting the endpoint means you used more Ca-3 than the true endpoint required, which reads as a falsely low calcium number. Slow down as the color starts to shift toward purple.
- If the color creeps through several drops without ever looking clearly blue, suspect the reagents rather than the tank. Every kit IndieFur ships carries at least 6 months of remaining shelf life, but Ca-1 powder can still cake if the container has been left open, and Ca-2 or Ca-3 degrade faster once opened and left in heat or direct light. Store the kit capped, cool, and out of the sun between tests.
- Touching the syringe tip to your fingers or the tank water changes the drop volume Ca-2 and Ca-3 deliver, which throws off the count. Rinse the vial with a splash of the same sample water rather than tap water, which carries its own dissolved minerals.
- Sampling water right after adding kalkwasser or a two-part calcium and alkalinity supplement catches a pocket that has not mixed through the tank yet. Wait at least an hour after dosing, or test right before your next dose instead.
What the number means for dosing
Below roughly 380 ppm, coral growth slows and the tank generally needs supplementation, whether that is kalkwasser, a two-part dosing system, or a calcium reactor. Above about 480 to 500 ppm, calcium can start precipitating out alongside alkalinity instead of staying dissolved, so it is worth easing off dosing rather than pushing higher. SPS-dominant tanks are usually kept toward the top of the 420 to 450 ppm range because of how much skeleton those corals lay down; soft corals and LPS tolerate the wider 400 to 450 ppm band without issue.
Track it over time, not as a one-off reading
A single calcium reading tells you where you stand today; a log of readings taken at the same time each week tells you how fast your tank is consuming calcium and whether your dosing needs adjusting. If two tests run back to back on the same water sample come out more than 10 ppm apart, the difference is almost always technique, not the tank, so redo the test slowly before changing your dosing. IndieFur’s marine test kit range covers alkalinity, magnesium, and the other parameters worth tracking alongside calcium.
Frequently asked questions
What is the ideal calcium level for a reef aquarium?
Most reef aquariums are kept between 400 and 450 ppm, matching natural seawater. SPS-heavy tanks run toward the top of that range; soft coral and LPS tanks tolerate the full 380 to 450 ppm band.
How often should I run the Salifert Calcium test?
Weekly is a reasonable starting point for most established tanks. Lightly stocked tanks can stretch to every two to four weeks; SPS-heavy systems with high calcium demand often test two to three times a week.
Why does the color change matter so much?
The whole test is a titration: the ppm result comes directly from how much Ca-3 you added before the color turned blue. Stopping a drop early or late shifts the reading, which is why testing under white light and swirling after every drop matters more than any other step.
Can this kit be used on a freshwater tank?
Yes, the same reagents and procedure work on fresh water. Freshwater calcium demand is usually much lower and less commonly tracked, since most freshwater setups do not rely on it for coral skeleton growth.
What other tests should I run alongside calcium?
Alkalinity and magnesium, at minimum, since all three interact in how corals build and maintain their skeletons. Salinity, pH, and temperature are worth checking on the same schedule.